Last time we have been talking about encoding color information in pixels with numbers from a zero-to-one range, where 0 stands for black, 1 for white and numbers in between represent corresponding shades of gray. (RGB model uses 3 numbers like that for storing the brightness of each Red, Green and Blue components and representing a wide range of colors through mixing them). This time let's address the precision of such a representation, which is defined by a number of bits dedicated in a particular file format to describing that 0-1 range, or a bit-depth of a raster image.
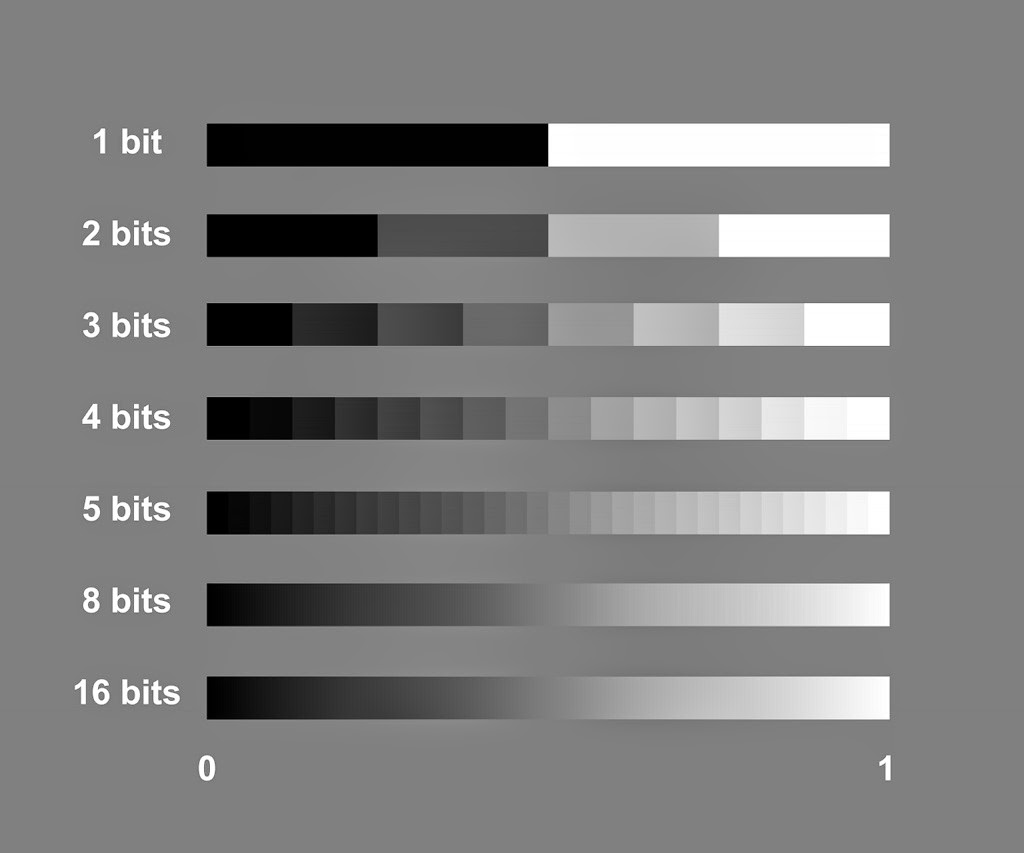
Bits are the most basic units of storing information. Each can take only two values, which can be thought of as 0 or 1, off or on, absence or presence of a signal, or black or white in our case. Therefore using a 1-bit per pixel (1-bit image) would give us a picture consisting only of black and white elements with no shades of gray.*
*Of course the two values can be interpreted as anything (for instance you can encode two different arbitrary colors with them like brown and violet, but only two of them – with no gradations in between), and for the most common purpose (which is representing a 0 to 1 gradation), 1 bit means black or white and higher bit depths serve increasing the amount of possible gray sub-steps.
But the great thing about bits is that when you group them together you get times more than the simple sum of the individuals, as each new bit does not add 2 more values to the group, but instead doubles the amount of available unique combinations. It means that if we use 3 bits to describe each pixel value, we'd get not 6 (=2*3) but 8 (=2^3) possible combinations. 5 bits can produce 32, and 8 bits grouped together result in 256 different numbers.
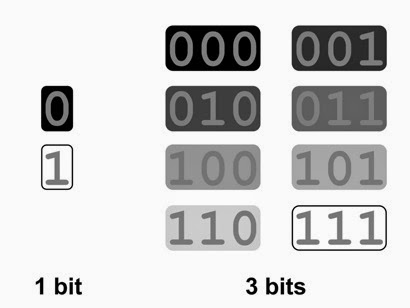 |
|
Although each bit can represent only
2 values,
even 3 of them grouped together would already
result in 8
possible combinations.
|
That group of 8 bits is typically called a byte, which is another standard unit computers use to store data. This makes it convenient (although not necessary) to assign the whole bytes to describe a color of a pixel, and it is one byte which is most commonly used per channel. This is true for the majority of digital images existing today, giving us the precision of 256 gradations from black to white possible (in either a monochrome picture or each Red, Green or Blue channel for RGB) and is what called an 8-bit image in computer graphics, where the bit-depth is traditionally measured per color component. In consumer electronics the same 8-bit RGB image would be called a 24-bit (True Color) simply because they count the sum of all 3 channels together (higher numbers must seem cooler for marketing). An 8-bit RGB image can possibly reproduce 16777216 (=256^3) different colors and results in color fidelity normally sufficient for not seeing any artifacts. Moreover, regular consumer monitors are physically not designed to display more gradations (in fact they may be limited to even less, like 6 bits per channel). So why would someone bother and waste disk space/memory on files of higher bit-depths?
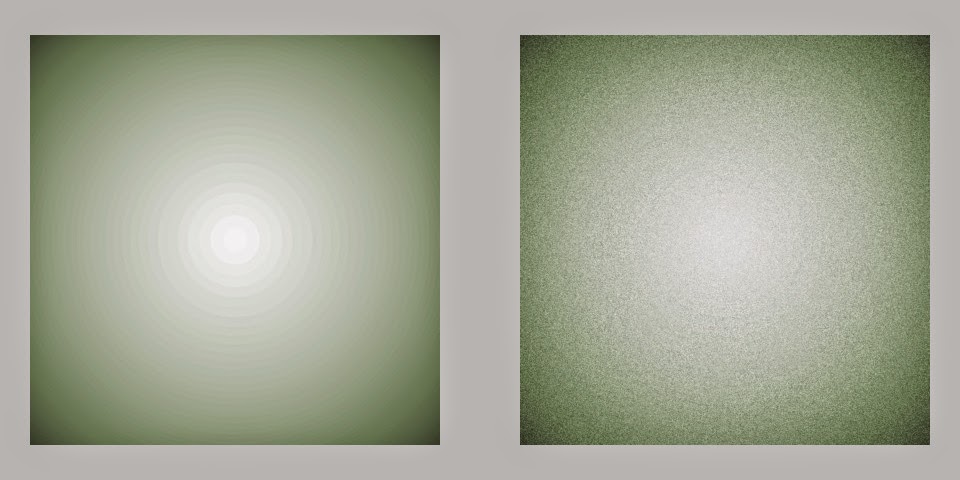
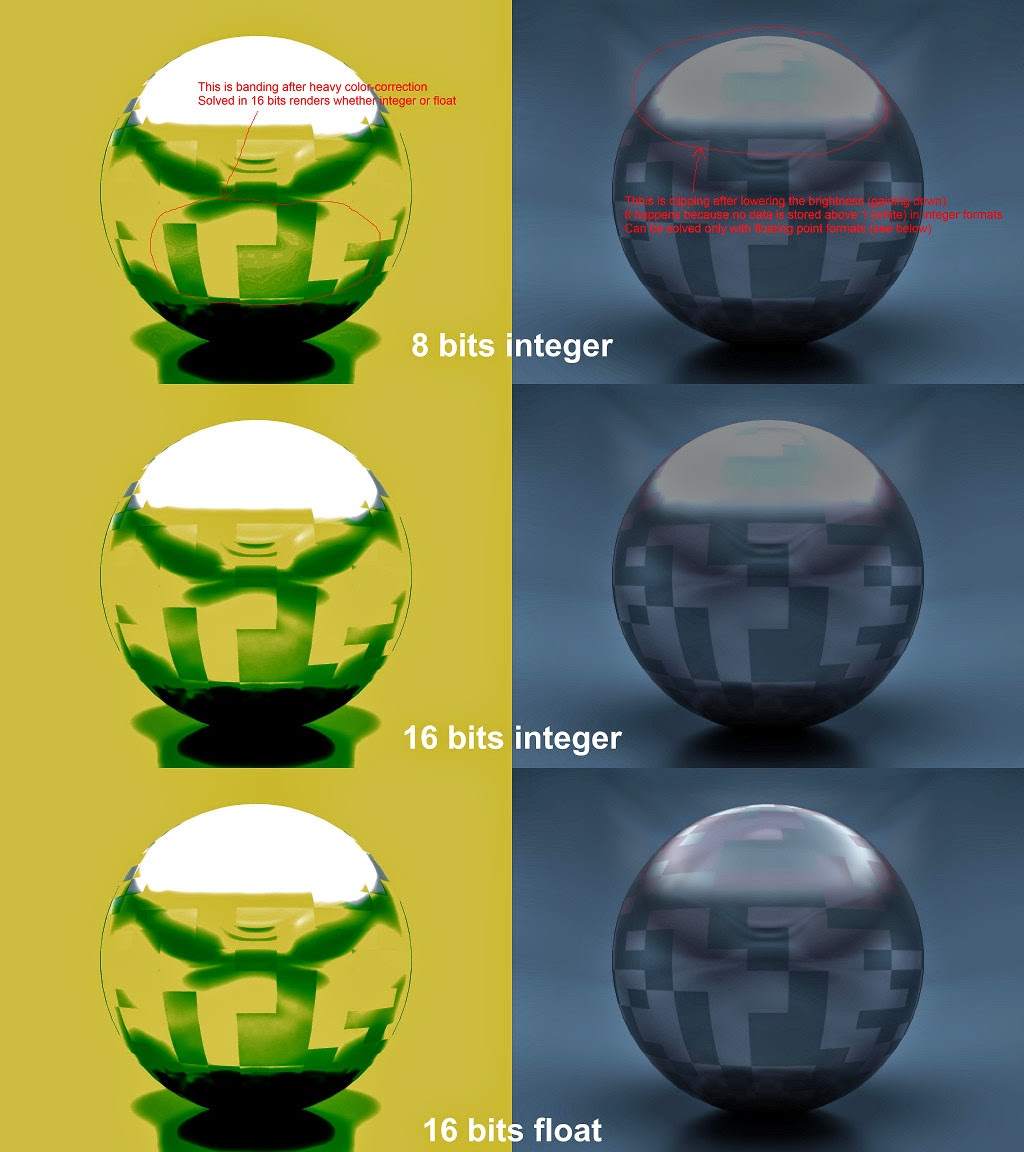
The most basic example when 256 gradations of an 8-bit image are not enough is a heavy color-correction, which may quickly result in artifacts called banding. Rendering to higher bit-depth solves this issue, and normally 16-bit formats with their 65536 distinctions of gray are used for the purpose. But even 10 bits like in Cineon/DPX format can give 4 times higher precision against the standard 8. Going above 2 bytes per channel, on the other hand, becomes impractical as the file size increases proportionally to the bit-depth.*
*No matter float or integer, the size of a raster image in memory can be calculated as a product of the number of pixels (horizontal times vertical resolution), bit-depth and the number of channels. This way 320x240 8-bit RGBA image would occupy 320x240x8x4=2457600 bits, or 320x240x4=307200 bytes of memory. This does not show the exact file size on disk though, as first, there is additional data like header and other meta-data stored in an image file; and second, some kind of compression (lossless like internal archiving or lossy like in JPEG) is normally utilized in image file formats to save the disk space.
But regardless of the number of gradations (2, 4, 256, 65536, etc), as long as we are using an integer file format, these numbers all describe the values within the range from 0 to 1. For instance, middle gray value in sRGB color space (the color space of a regular computer monitor - not to be confused with RGB color model) is around 0.5 – not 128, and white is 1 – not 255. It is only because 8-bits representation is so popular, many programs by default measure the color in it. But this is not how the underlying math is working and thus can cause problems when trying to make sense of it... For example take a Multiply blending mode – it's easy to learn empirically that it preserves the color of the underlying layer in white areas of the overlay, and darkens the picture under the dark areas – but what exactly is happening – why is it called “multiply”? With black it makes sense – you multiply the underlying color by 0 and get 0 – black, but why would it preserve white areas if white is 255? Multiplying something by 255 should make it way brighter... Well, because it is 1, not 255 (neither 4, nor 16, nor 65536...). And so with the rest of the CG math: white means one.
The above paragraphs referred to how the bit depth works in integer formats – defining the amount of possible variations between 0 and 1 only. Floating point formats are of a different kind. Bit depth does pretty much the same thing here – defines the color precision. However the numbers stored can be anything and may well lay outside of a 0 to 1 range. Like brighter than white (above 1) or darker than black (negative). Internally this works by utilizing the logarithmic scale and requires higher bit-depths for achieving the same fidelity in the usually most important [0,1]. Normally at least 16 or even 32 bits are used per channel to represent floating point data with enough precision. At the cost of the memory usage, this allows for representing High Dynamic Range imagery, additional freedom in compositing, and makes it possible to store arbitrary numerical data in image files like the World Position Pass to name one.
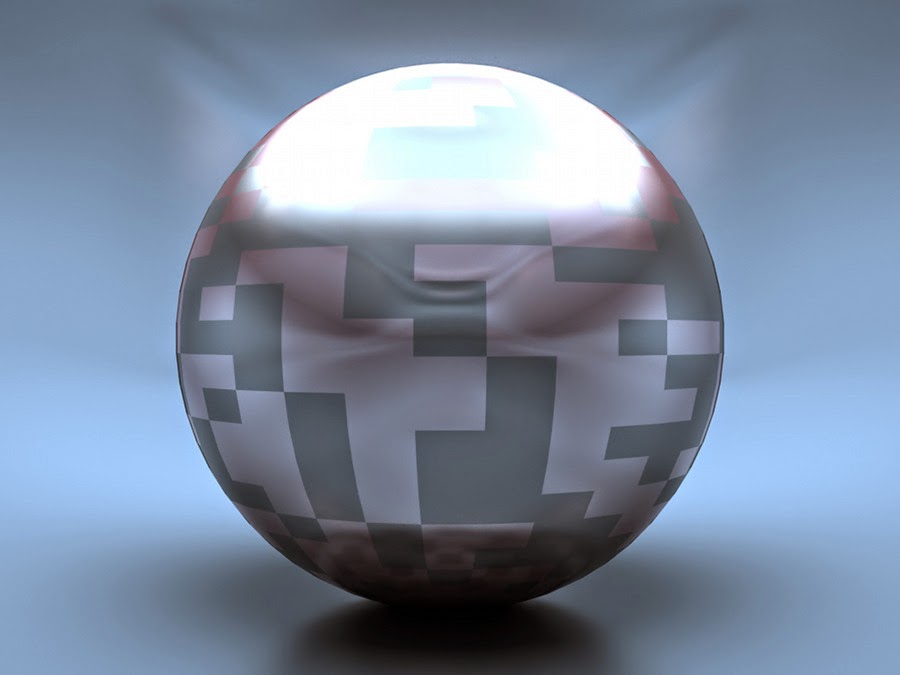
This also means that integer formats always clip the out-of-range pixel values. The quick way to test for clipping is to lower the brightness of a picture and see if any details get revealed in the overbright areas.
 |
| Source image |
It is natural for a 3D renderer to work in floating point internally, so most often the risk of clipping would occur when choosing a file format to save the final image. But even when dealing with already given low bit-depth or clipped integer files, there are certain benefits in increasing its color precision inside of the compositing software. (For the best of my knowledge, Nuke converts any imported source into a 32-bits floating point representation internally and automatically.) Such conversion won't add any extra details or qualities to the existing data, but the results of your further manipulations would belong to a better colorspace with less quantization errors (and wider luminance range if you also convert an integer to float). Moreover, you can quickly fake HDR data by converting an integer image to float and gaining up the highlights (bright areas) of the picture. This won't give you a real replacement for the properly acquired HDR, but should suffice for many purposes like diffuse IBL (Image Based Lighting). In other words, regardless of the output requirements, do your compositing in at least 16 bits, float highly preferable – final downsampling and clipping for the output delivery is never a problem.
It is important to have a clear understanding of bit-depth and integer/float differences to deliver the renders in adequate quality and not to get caught during the post-processing stage later. Read up on the file formats and options available in your software. For instance 16 bits can refer to both integer and floating point formats, which may be distinguished as “Short” (integer) and “Half” (float) in Maya. As a general rule of thumb, use 16 bits if you plan for extensive color grading/compositing and make sure you render to floating point format to avoid clipping if any out-of-range values need to be preserved (like details in the highlights or negative values in Zdepth or if you simply use linear workflow). 16-bit OpenEXR files can be considered a good color precision/file size compromise for the general case.
Happy and Merry everyone!
No comments:
Post a Comment